How to Fix Car Roof Lining: DIY Headliner Replacement Guide
A sagging car roof lining can make even a tidy car feel old and worn out. It usually happens when the foam backing behind the fabric breaks down, causing the material to droop away from the headliner board.
The good news is that you can often fix car roof lining yourself if the board is still in decent condition. With foam-backed headliner fabric, high-temperature adhesive and a few basic tools, many DIYers can replace the roof lining material at home.
This guide walks you through what you’ll need, how to remove the old car headliner fabric, how to prepare the board properly, and how to fit new headliner material without lumps, wrinkles or early sagging.
Why Does Car Roof Lining Sag?
The headlining (or roof liner) is made from a foam-backed fabric laminated to a backing board. Over time, the foam deteriorates, especially in Australia’s hot climate, causing the fabric to peel away from the ceiling.
A damaged or sagging roof lining not only looks untidy, but it can also block your rear view, reduce cabin comfort, and hurt resale value.
Can You Glue Sagging Roof Lining Back Up?
You can sometimes glue down a very small loose edge as a temporary fix, but it usually will not solve a sagging centre section. Once the foam backing has failed, the fabric no longer has a clean, stable surface to stick to.
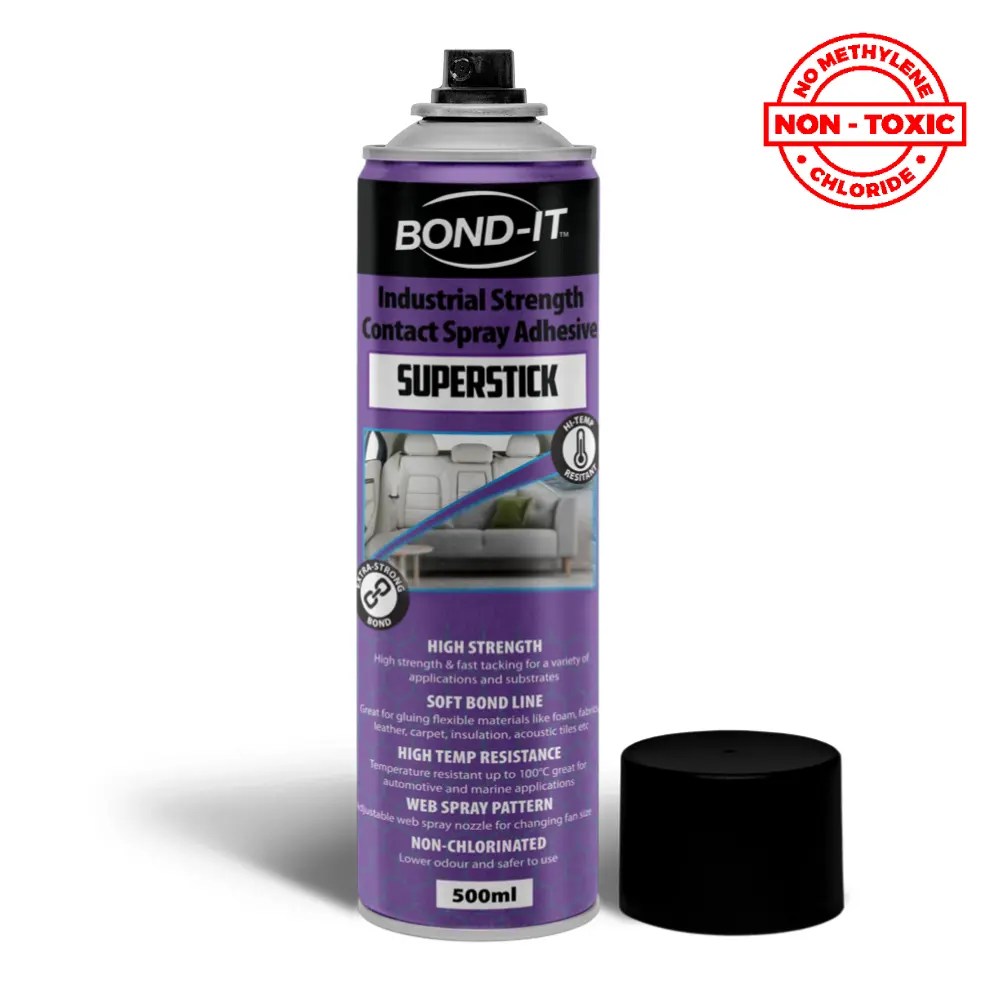
For a proper long-term repair, remove the old material, clean the failed foam from the board, and fit new foam-backed car headliner fabric with high-temperature adhesive.
Always check the adhesive instructions for tack time and temperature suitability. Headliners get hot, so ordinary craft glue or low-temperature spray adhesive usually will not last.
What You'll Need
Professional headliner replacement can be expensive, especially on larger vehicles. If the headliner board is still in good shape, a DIY repair using foam-backed headliner fabric and high-temperature adhesive is often the more affordable option.
Useful basics from your toolbox
- Phillips and flat-head screwdrivers
- Bristle brush or light sandpaper
- Sharp Stanley knife
Step-by-Step: How to Replace Your Car Roof Lining
1. Remove the Existing Headliner
- Unclip trim, visors, lights, grab handles and rearview mirror.
- Carefully slide the headliner board out without cracking it.
- Place it on a flat surface for re-covering.
2. Strip the Old Roof Lining Fabric
- Peel away the sagging roof lining fabric.
-
Use a bristle brush or sandpaper to remove all the old foam and glue.
💡 Be thorough: leftover foam causes bumps and poor adhesion.
3. Lay Out Your New Foam-Backed Headliner Fabric
- Place the new headliner material (foam side down) over the board.
- Smooth out any wrinkles before gluing.
4. Glue in Sections
- Fold back half the fabric.
- Spray both the board and fabric with headliner adhesive.
- Press the fabric down firmly, smoothing with your hands.
-
Repeat on the other half.
💡 Tip: Work in a ventilated area and wear gloves.
5. Trim & Cut
- Trim excess fabric, leaving a 1.5 cm edge for tucking in.
- Use a Stanley knife to cut holes for seatbelt fittings, lights, etc.
- Fold and glue edges behind the board.
6. Reinstall the Headliner
- Slide the board back into the car.
- Refit all trims, lights and accessories.
Where to Buy Headliner Fabric and Roof Lining Materials
At Home Upholsterer, we stock:
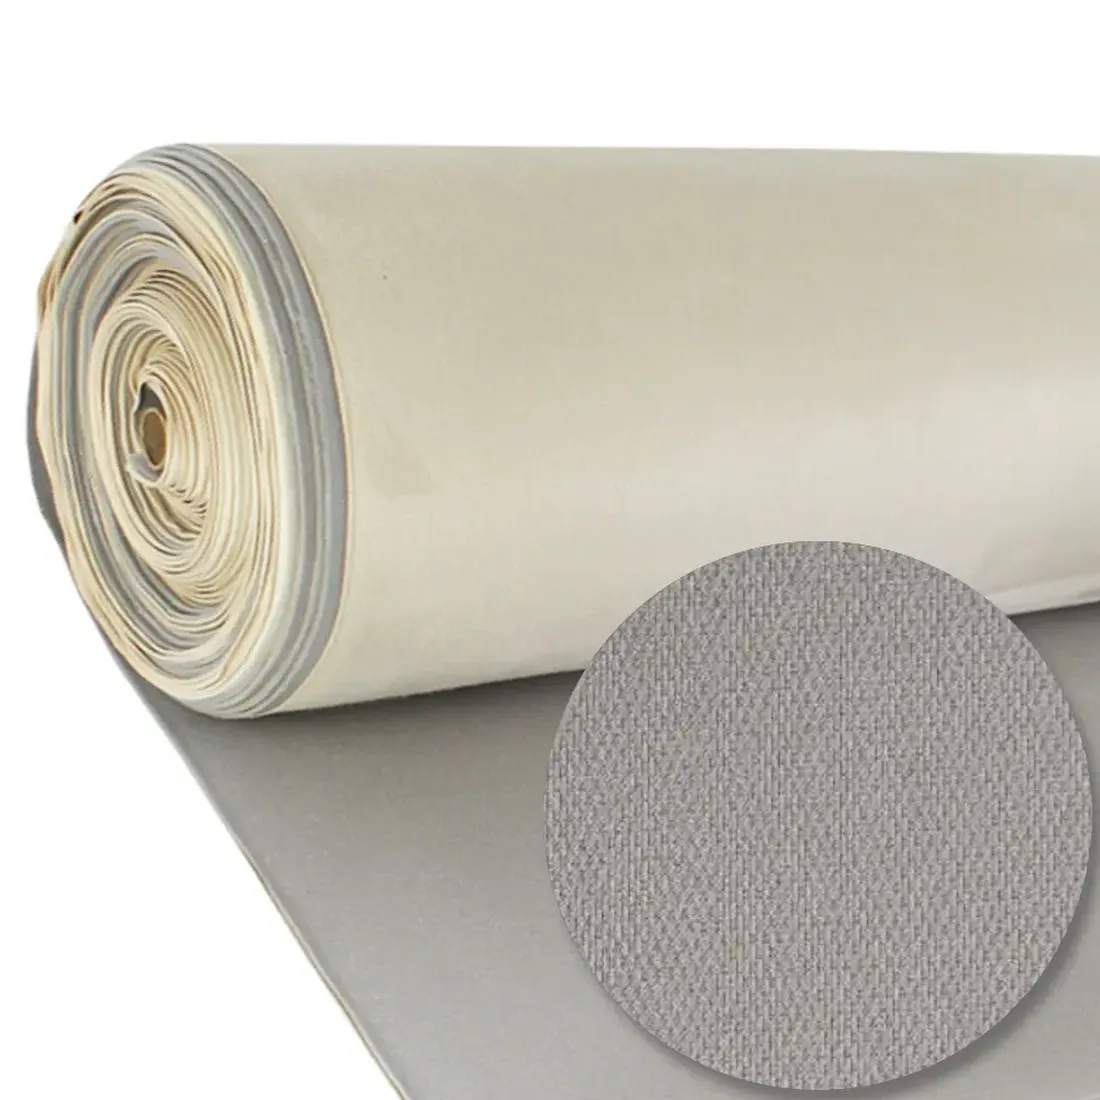
- Foam-backed headliner fabric in grey, beige, and black
- Roof lining adhesives specially formulated for automotive interiors
- DIY upholstery tools to make the job easier
- Friendly service at our Sydney showroom or fast Australia-wide shipping
We’re proud to be the home of DIY upholstery supplies in Australia — trusted by hobbyists, restorers, and auto trimmers alike.
Need Help Choosing the Right Car Roof Lining Material?
Drop into our Sydney upholstery supplies showroom, or contact us for advice on replacing your car roof lining.
We’re happy to demo tools, recommend products, or guide you step-by-step. Prefer to shop online? We ship nationwide with fast dispatch from our Sydney warehouse.